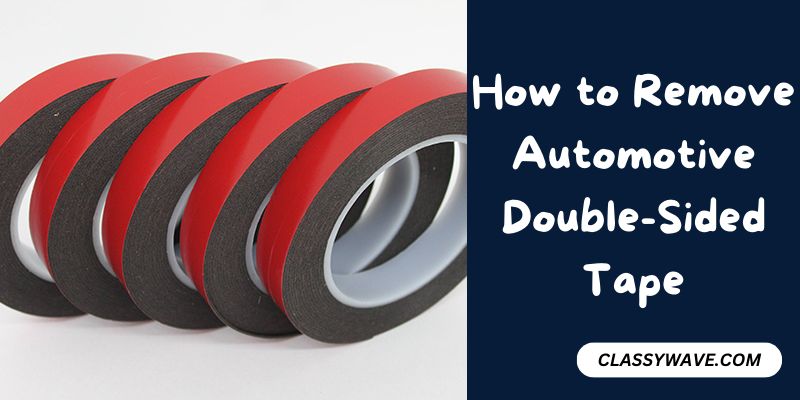
How to Remove Automotive Double-Sided Tape – Effective Way
Are you struggling with the stubborn remnants of automotive double-sided tape clinging to your vehicle’s surfaces? Fret not, as we embark on a journey to unravel the secrets of seamless removal. In this guide, we’ll navigate through the step-by-step process, arming you with the knowledge and tools needed to bid farewell to that adhesive grip.
From softening the tape with the warmth of a hairdryer to the art of peeling without a trace, we’ve got you covered. Say goodbye to the challenges and hello to a spotless finish. Let’s dive into the world of automotive care and discover the ease of liberating your vehicle from the grasp of double-sided tape.
Materials Needed
Before embarking on the journey of removing automotive double-sided tape, ensure you have the essential materials at your fingertips. These tools will be your allies in achieving a clean and damage-free surface:
Hairdryer or Heat Gun:
Utilize heat to soften the adhesive, making the tape easier to peel off.
Plastic Razor Blade:
A safe alternative to metal, perfect for gently lifting the tape without scratching the surface.
Isopropyl Alcohol:
An effective solution for cleaning adhesive residue, leaving your vehicle spotless.
Microfiber Cloth:
Ideal for wiping and polishing, ensuring a pristine finish after tape removal.
Mild Soap:
Mix with water for a gentle cleaning solution, safeguarding your vehicle’s paint.
Water:
Combined with mild soap, it aids in cleaning and preparing the surface for tape removal.
Adhesive Remover:
Specifically designed to dissolve tough adhesives, facilitating easy and residue-free removal.
Soft Sponge:
Use for applying cleaning solutions and adhesive removers without causing damage.
Protective Gloves:
Shield your hands from chemicals and adhesive residue, prioritizing safety throughout the removal process.
Gathering these materials beforehand ensures a smooth and efficient tape removal process, safeguarding both your vehicle and your hands.
How to Remove Automotive Double-Sided Tape Step by Step Guide
Step 1: Gather Supplies
To ensure a smooth removal process, gather all the necessary supplies. Each item plays a crucial role in safely eliminating the double-sided tape without harming your vehicle’s surfaces.
Step 2: Prep the Area
Before starting the removal process, clean the surrounding area. Remove dirt, dust, or debris to prevent any scratches during the tape removal.
Step 3: Softening the Tape
Use a hairdryer or heat gun to gently heat the tape. This softens the adhesive, making it easier to peel off without leaving residues.
Step 4: Peeling Off the Tape
Carefully lift the edge of the tape using a plastic razor blade. Pull it off slowly and steadily, ensuring it doesn’t tear or leave bits behind.
Step 5: Cleaning Residue
After removing the tape, use an adhesive remover and a soft sponge to clean any remaining residue. Wipe the area with a microfiber cloth dipped in a mixture of mild soap and water.
Common Mistakes to Avoid
When undertaking the removal of automotive double-sided tape, steer clear of common pitfalls for a flawless finish. Firstly, ditch metal tools to ward off any potential scratches on your vehicle’s surface.
Remember, patience is your ally – avoid rushing the process. Lastly, resist the urge to exert excessive force, as it can lead to unintended damage to your vehicle’s pristine finish. Adhering to these precautions ensures a smooth and successful tape removal without compromising your vehicle’s appearance.
Choosing the Right Products
Select a high-quality adhesive remover and cleaning agent to ensure effective tape removal without harming the surfaces.
Preventing Damage to Surfaces
To prevent scratches or damage, use plastic tools and follow a gentle approach when peeling off the tape.
DIY vs. Professional Removal
Consider the complexity of the task and your expertise. While some can manage DIY removal, others may prefer professional assistance for intricate components.
Benefits of Proper Removal
Proper removal ensures a clean surface and prevents damage, allowing for seamless application of new tape or accessories.
Case Studies
Explore real-life examples where individuals successfully removed automotive double-sided tape, sharing their experiences and outcomes.
Conclusion
In conclusion, mastering the art of removing automotive double-sided tape is not just about liberating your vehicle from adhesive bonds; it’s a journey towards preserving its aesthetic allure. By following the steps outlined in this guide, you empower yourself to navigate the challenges with finesse, ensuring a spotless and unblemished finish.
Remember, the key lies in patience, precision, and using the right tools. As you bid farewell to stubborn tape remnants, you welcome a renewed canvas, ready for fresh upgrades or a pristine appearance. So, equip yourself, embark on this tape removal adventure, and revel in the satisfaction of unveiling a vehicle that shines, tape-free and revitalized. Your automotive masterpiece awaits, liberated from the remnants of the past.
FAQs
Can I use a regular hair dryer for tape removal?
Yes, a regular hair dryer works well. Ensure it’s on a low setting to avoid overheating.
Is it necessary to wear protective gloves during the removal process?
Wearing gloves is advisable to protect your hands from any adhesive residue.
Can I use any adhesive remover for cleaning residue?
Choose a remover designed for automotive use to ensure compatibility and effectiveness.
How long should I heat the tape before attempting removal?
Heat the tape for about 1-2 minutes, keeping a safe distance to prevent overheating.
Are there specific tools to avoid when removing tape?
Avoid metal tools; opt for plastic razor blades to prevent surface damage.

