How to Check Coolant Level Properly | Classy Wave
Your car’s coolant (also known as antifreeze) is one of the most important fluids that keeps the engine running smoothly. It regulates the engine temperature and prevents overheating, especially during long drives or hot weather. Knowing how to check coolant level properly can save you from costly repairs and potential engine damage. The process is simple, quick, and can be done at home in just a few minutes.
What Is Coolant and Why It’s Important
Coolant is a liquid mixture of water and antifreeze that circulates through your car’s engine and radiator to keep the temperature stable.
Without enough coolant, your engine can overheat, leading to severe damage or complete engine failure. Checking it regularly ensures your vehicle stays in top condition, especially before long trips or during seasonal changes.
When to Check the Coolant Level
It’s best to check your coolant level:
- Every 2–4 weeks as part of routine maintenance
- Before long road trips
- If the temperature gauge shows the engine is running hotter than normal
- When you notice a coolant warning light on the dashboard
Always check coolant when the engine is cold, as checking it when hot can be dangerous due to pressure buildup.
Step-by-Step Guide: How to Check Coolant Level Properly
Step 1: Park Your Car Safely
Make sure the car is parked on a flat surface and the engine is completely cool. Open the hood carefully using the latch under the dashboard or steering wheel.
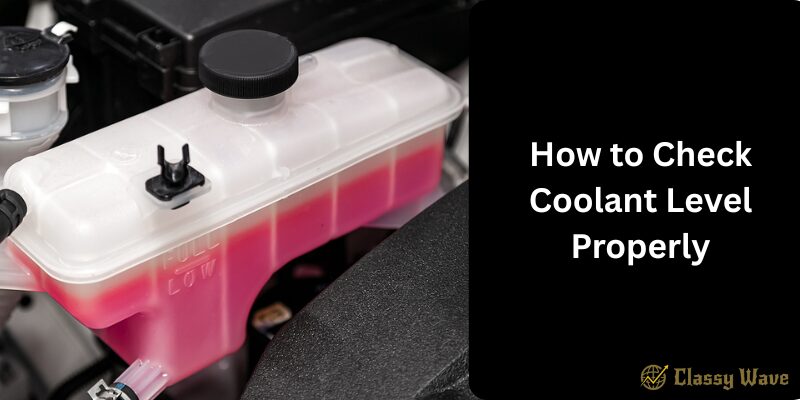
Step 2: Locate the Coolant Reservoir
Look for a translucent plastic tank near the radiator — this is the coolant reservoir. Most reservoirs are labeled “Engine Coolant” or have a thermometer symbol.
Step 3: Check the Level Markings
On the side of the reservoir, you’ll find “MIN” (minimum) and “MAX” (maximum) markings.
- The coolant should be between these two lines.
- If it’s below the minimum line, your engine may not be getting enough cooling protection.
Step 4: Check the Coolant Color
Coolant should typically be green, orange, or pink depending on the type.
If it looks brown, rusty, or cloudy, it’s time to replace it because contamination can reduce its effectiveness.
Step 5: Add Coolant if Needed
If the coolant is below the minimum line:
- Remove the reservoir cap (only when the engine is cool).
- Add a 50/50 mixture of coolant and distilled water until it reaches the MAX line.
- Replace the cap securely.
Never overfill the reservoir, as coolant expands when heated.
Step 6: Check for Leaks
After filling, inspect the hoses and the area under your car for leaks. A sweet smell or visible puddles might indicate a coolant leak that needs attention.
Safety Tips When Checking Coolant
- Never open the radiator cap while the engine is hot — hot coolant can spray out and cause burns.
- Always use the correct type of coolant recommended in your vehicle’s owner’s manual.
- Keep coolant away from pets and children; it’s toxic if ingested.
- If you frequently need to add coolant, have your system checked by a mechanic — there might be a leak.
Common Signs of Low Coolant
- Engine temperature warning light turns on
- Heater not blowing hot air
- Engine overheating or fluctuating temperature gauge
- Visible coolant leaks under the vehicle
If you notice any of these signs, check your coolant immediately.
How Often Should You Replace Coolant?
Most vehicles require a coolant flush and replacement every 30,000 to 60,000 miles or every 2–3 years, depending on the manufacturer’s recommendation. Over time, coolant breaks down and loses its ability to protect your engine from corrosion and overheating.
Conclusion
Checking your coolant level properly is a small task that can make a huge difference in your car’s performance and longevity. With just a few minutes of attention, you can prevent overheating, ensure a smoother ride, and avoid costly engine repairs. Make it a habit to inspect your coolant regularly — your car will thank you for it!