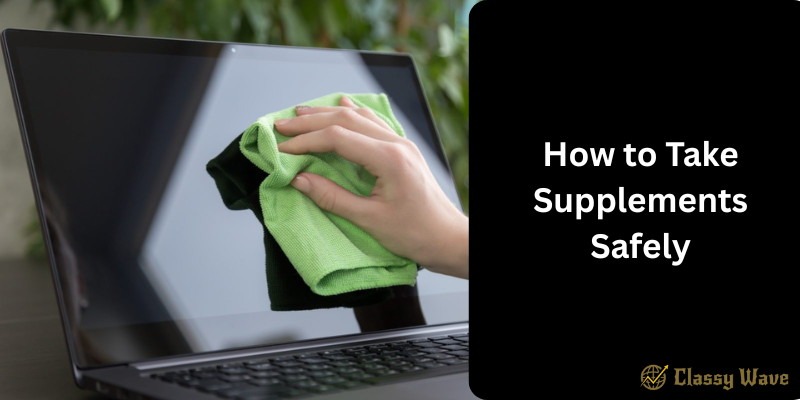
How to Clean Your Laptop Safely | Classy Wave
Keeping your laptop clean is essential not just for looks but also for its performance and longevity. Dust, grime, and fingerprints can clog vents, affect keyboard functionality, and even lead to overheating. Let’s go step by step on how to clean your laptop safely — without damaging it.
Why Cleaning Your Laptop Matters
Your laptop is a daily companion — whether for work, study, or entertainment. Over time, it collects dirt, oils from your fingers, and dust that can cause:
- Poor ventilation and overheating
- Sticky or unresponsive keys
- Faded screen visibility
- Health issues from bacteria buildup
A clean laptop works better and lasts longer. Plus, it just feels good to use!
What You’ll Need
Before you begin, gather the following items:
- Microfiber cloths
- Isopropyl alcohol (70% or higher)
- Compressed air can
- Cotton swabs
- Distilled water
- Small soft brush
Avoid using paper towels, window cleaners, or household sprays—they can damage the screen or coating.
Step 1: Power Off and Unplug Everything
Always shut down your laptop and disconnect the charger and any external devices. If possible, remove the battery. This ensures safety and prevents accidental damage from moisture or static.
Step 2: Clean the Exterior Surface
Use a slightly damp microfiber cloth with a mix of distilled water and isopropyl alcohol. Gently wipe down the lid, base, and sides.
Avoid dripping liquid near ports or vents—moisture can easily cause internal damage.
Step 3: Clean the Keyboard
1. Shake and Blow Out Debris
Turn the laptop upside down and gently shake it to loosen crumbs or dust. Use compressed air to blow between the keys.
2. Wipe Each Key
Use a microfiber cloth with a small amount of isopropyl alcohol to clean the keys. For tough spots, a cotton swab dipped in alcohol works great.
3. Disinfect
If multiple people use the same laptop, disinfecting the keyboard helps prevent germs from spreading.
Step 4: Clean the Screen Properly
Laptop screens are delicate, so handle them with care.
- Use a dry microfiber cloth to remove loose dust.
- For smudges, lightly dampen the cloth with a 50/50 mix of distilled water and isopropyl alcohol.
- Wipe gently in circular motions.
Avoid:
- Using paper towels (they can scratch)
- Pressing hard
- Spraying liquid directly on the screen
Step 5: Clean the Ports and Vents
Dust buildup in ports and vents can lead to overheating. Use compressed air to carefully blow out debris.
If dust persists, a soft brush can help loosen it—but don’t insert sharp objects!
Step 6: Clean the Touchpad
The touchpad is another high-contact area.
Wipe it gently with a damp microfiber cloth. Use isopropyl alcohol for disinfecting, but ensure no excess moisture gets inside the pad edges.
Step 7: Clean the Laptop Bag or Case
Your laptop bag also gathers dust and dirt. Cleaning it regularly prevents recontamination of your device. Vacuum the inside and wipe the exterior with a damp cloth.
Step 8: Let Everything Dry
After cleaning, let the laptop dry completely before turning it back on. Usually, 10–15 minutes is enough.
Step 9: Maintain a Cleaning Schedule
To keep your laptop in great condition:
- Wipe the screen and keyboard weekly.
- Deep clean once a month.
- Store it in a clean, dry place.
Bonus Tips for Laptop Care
- Avoid eating near your laptop.
- Keep drinks away to prevent spills.
- Use a keyboard cover to block dust.
- Always carry it in a padded case.
Common Mistakes to Avoid
- Using harsh chemicals like ammonia or bleach.
- Applying too much pressure on the screen.
- Ignoring air vents or fans.
- Cleaning while the laptop is plugged in.
Conclusion
Cleaning your laptop safely isn’t difficult — it just takes a bit of care and patience. Regular maintenance keeps your device looking new, functioning efficiently, and lasting longer. Treat your laptop like your workspace — the cleaner it is, the more productive you’ll feel.


