How to Organize Countertop Appliances | Classy Wave
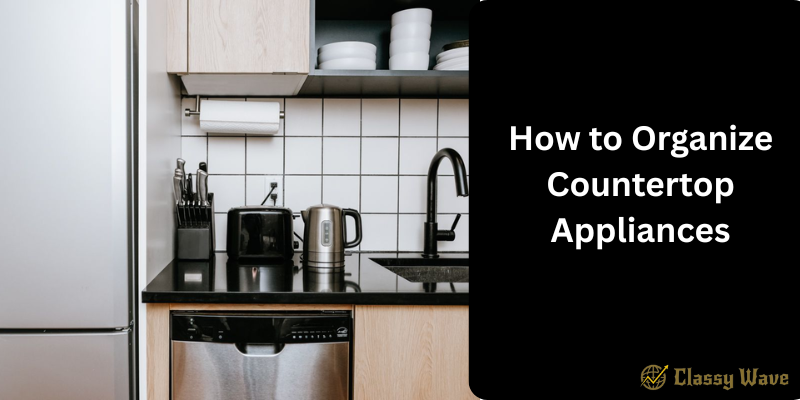
Kitchen countertops can quickly become cluttered with toasters, blenders, coffee makers, and other small appliances. When every device has its own cord and footprint, your cooking space can feel chaotic. Learning how to organize countertop appliances helps create a cleaner, more functional kitchen where everything looks tidy and is easy to use.
Let’s explore simple, practical ways to organize your countertop appliances and transform your kitchen into a neat, efficient space.
1. Start with Decluttering
The first step to organizing your countertop appliances is decluttering. Take everything off your counters and assess what you truly use.
Ask yourself:
- Do I use this appliance daily or weekly?
- Can this be stored away and only brought out when needed?
Donate or store appliances you rarely use, like a bread maker or extra blender. Keeping only what you use most often reduces clutter immediately.
2. Categorize Your Appliances
Once you’ve decluttered, group your appliances by usage.
- Daily use: Coffee maker, toaster, or air fryer.
- Occasional use: Mixer, juicer, or slow cooker.
- Rarely used: Specialty appliances like waffle makers or ice cream machines.
This method helps you decide what should stay on the counter and what can be stored elsewhere.
3. Assign a Specific Zone for Each Category
Think of your kitchen as having “zones.” For instance:
- Breakfast zone: Coffee maker, toaster, blender.
- Cooking zone: Air fryer, instant pot, spice rack.
- Baking zone: Mixer, measuring tools, and baking supplies.
Keeping similar items together saves time and makes your kitchen workflow smoother.
4. Use Appliance Garages
An appliance garage is a clever storage solution built into cabinets or corners of countertops. It hides small appliances behind roll-up or lift-up doors, giving your kitchen a sleek, uncluttered look while keeping them easily accessible.
If you can’t install one, use a large cabinet or a designated shelf for similar results.
5. Utilize Vertical Space
When counter space is limited, think vertical. Install wall shelves or floating racks to hold lightweight appliances or accessories. You can even mount a microwave shelf to free up counter space.
Vertical solutions also make your kitchen feel more open and organized.
6. Store Infrequently Used Appliances in Cabinets
Appliances you don’t use daily shouldn’t occupy prime countertop real estate. Store them in lower cabinets, a pantry, or a storage rack. Label or arrange them so they’re easy to grab when needed.
You can even use clear bins or baskets to organize cords, attachments, and smaller parts together.
7. Manage Cords Neatly
Cords often make countertops look messy. Try these tips for cord management:
- Use cord clips or adhesive hooks to guide cords along the backsplash.
- Coil extra cords neatly and secure them with Velcro ties.
- Choose appliances with retractable cords when possible.
Hiding cords instantly makes your counters look cleaner and more organized.
8. Use Trays or Mats
Group small appliances on decorative trays or rubber mats. This not only creates a tidy, unified look but also protects your countertops from spills or heat damage.
For instance, place your coffee machine, grinder, and mugs on one tray to create a mini coffee station.
9. Keep Frequently Used Appliances Accessible
If you use certain appliances daily, keep them within arm’s reach. However, limit it to two or three essential devices. Overcrowding your counters defeats the purpose of organization.
Arrange them neatly with enough space between each item for easy use and cleaning.
10. Go for Multi-Purpose Appliances
Consider replacing multiple single-use gadgets with multi-functional appliances. For example:
- Use a food processor instead of a separate chopper and blender.
- Choose an instant pot that combines a slow cooker, rice cooker, and steamer.
Fewer gadgets mean less clutter and more counter space.
11. Add Aesthetic Touches
Organization isn’t just about functionality—it’s about aesthetics too. Choose appliances that complement your kitchen’s color scheme or hide them behind matching storage units.
Adding a small plant, clean jars, or a wooden tray can make your countertop both practical and stylish.
12. Maintain Regularly
An organized countertop won’t stay that way forever unless you maintain it.
- Wipe down surfaces daily.
- Return appliances to their designated spots after use.
- Reassess your setup monthly to remove unnecessary clutter.
Consistency is key to keeping your kitchen looking organized and peaceful.
Conclusion
Learning how to organize countertop appliances is about balancing convenience and simplicity. Keep only what you use often, find clever storage for the rest, and manage cords and spaces smartly. By creating zones, using vertical storage, and maintaining a routine, you can enjoy a clean, efficient kitchen that makes cooking more enjoyable.


