How to Use Automotive Touch-Up Paint – Tips and Tricks
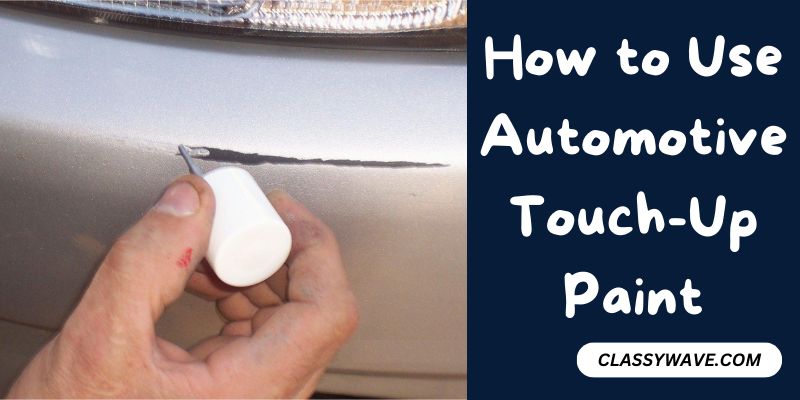
Automotive touch-up paint is a savior for those unsightly scratches and chips that can mar the beauty of your beloved vehicle. In this guide, we’ll explore the ins and outs of using automotive touch-up paint, ensuring your car looks as good as new. Revitalize your car’s appearance with automotive touch-up paint.
Choose the right color by locating the paint code in your owner’s manual or on the door jamb. Clean the area thoroughly and use sandpaper for a smooth surface. Apply primer for better adhesion. Various methods, like brushes or spray cans, cater to different needs.
Avoid common mistakes – don’t rush, and let each layer dry. Blend paint seamlessly by feathering edges and applying gradual layers. Deep scratches? Fill them in, and use putty for dents.
Choosing the Right Automotive Touch-Up Paint
Precision Matters:
Selecting the right automotive touch-up paint is all about precision.
Match it Perfectly:
Ensure the chosen paint matches your vehicle’s color code perfectly.
Consult the Code:
Look for the paint code in the owner’s manual or on the driver’s side door jamb.
No Room for Error:
There’s no room for error when it comes to color – get it right from the start.
Meticulous Identification:
Meticulously identify the paint code for an exact match.
Seamless Integration:
The key is a seamless integration of touch-up paint with your vehicle’s original color.
Owner’s Responsibility:
It’s the vehicle owner’s responsibility to find and use the correct paint.
Avoid Mismatch Woes:
Prevent color mismatch woes by double-checking the paint code.
Preserve Resale Value:
Choosing the right paint helps preserve your vehicle’s resale value.
Invest Time, Not Regret:
Invest time in choosing the correct paint; you’ll thank yourself later.
Selecting the correct paint is paramount. To achieve a seamless finish, ensure the chosen touch-up paint matches your vehicle’s color precisely. Identify the paint code, usually found in the owner’s manual or on the driver’s side door jamb.
Preparing the Surface
Before applying touch-up paint, prepare the surface meticulously. Clean the affected area thoroughly and use sandpaper to smooth any rough edges. Applying a primer enhances paint adhesion, ensuring a longer-lasting result.
Application Techniques
There are various methods to apply touch-up paint, including brushes, spray cans, and touch-up pens. Choose the method that suits your comfort level. Brushes are great for small areas, while spray cans offer a more even application on larger surfaces.
Common Mistakes to Avoid
Don’t rush the process. Skipping steps like surface preparation can lead to subpar results. Avoid overusing paint, as excessive layers may cause uneven surfaces. Patience is key – allow each layer to dry completely before applying the next.
Tips for Blending Paint
To seamlessly blend the touch-up paint with the existing finish, feather the edges of the painted area. Apply paint gradually, allowing each layer to dry before adding the next. This meticulous approach ensures a professional-looking finish.
Dealing with Deep Scratches and Dents
For deep scratches, fill the damaged area with touch-up paint, layering it gradually for optimal results. Dents may require putty before applying paint. Take the time to carefully follow the process for a flawless repair.
Caring for the Repaired Area
After the touch-up paint has dried, clean the area regularly and apply wax to protect the finish. This maintenance ensures the longevity of the repair, keeping your vehicle looking polished and well-maintained.
Benefits of DIY Touch-Up Paint
DIY touch-up paint projects are cost-effective and empower vehicle owners to maintain their car’s appearance. Instead of costly professional services, tackle minor imperfections yourself, saving both time and money.
Understanding Different Types of Automotive Paints
Know your basecoat from your clearcoat. Different types of automotive paints serve distinct purposes. Basecoat provides color, clearcoat offers protection, and single-stage paint combines both in one application.
Safety Precautions
Prioritize safety by using protective gear, including gloves and a mask. Ensure proper ventilation in your work area to prevent inhaling fumes. Safety should be the top priority in any DIY project.
Conclusion
In conclusion, mastering the art of using automotive touch-up paint is not just about repairing scratches; it’s about maintaining the essence of your vehicle. By diligently selecting the right paint, preparing surfaces with care, and applying techniques thoughtfully, you embark on a journey to preserve the allure of your car. DIY touch-ups not only save costs but also empower you to be the caretaker of your vehicle’s aesthetics.
As each layer dries, it symbolizes the effort invested in upholding the vehicle’s visual integrity. So, the next time you pick up that brush or spray can, remember, that it’s not merely paint; it’s a commitment to the enduring charm of your cherished ride. Revel in the satisfaction of a job well done, knowing you’ve contributed to the longevity and timeless appeal of your four-wheeled companion.
Frequently Asked Questions (FAQs)
How often should I touch up my vehicle’s paint?
Regularly inspect your vehicle, touching up paint as soon as you notice imperfections.
Are there any color variations in touch-up paint?
While manufacturers strive for accuracy, slight variations may occur. Test in an inconspicuous area first.
Can touch-up paint be used on older vehicles?
Absolutely. Touch-up paint is effective on vehicles of all ages, revitalizing their appearance.
What’s the shelf life of automotive touch-up paint?
Properly stored, touch-up paint can last for several years. Check for any changes in consistency before use.
Are there any environmental concerns with touch-up paint?
Follow disposal guidelines for environmentally friendly handling. Dispose of used materials responsibly.


